Before and after cleaning photos: method for stunning results
Learn how to take before and after cleaning photos that prove the impact of your work, reassure clients, and protect you in any dispute.

Jonathan Lalinec
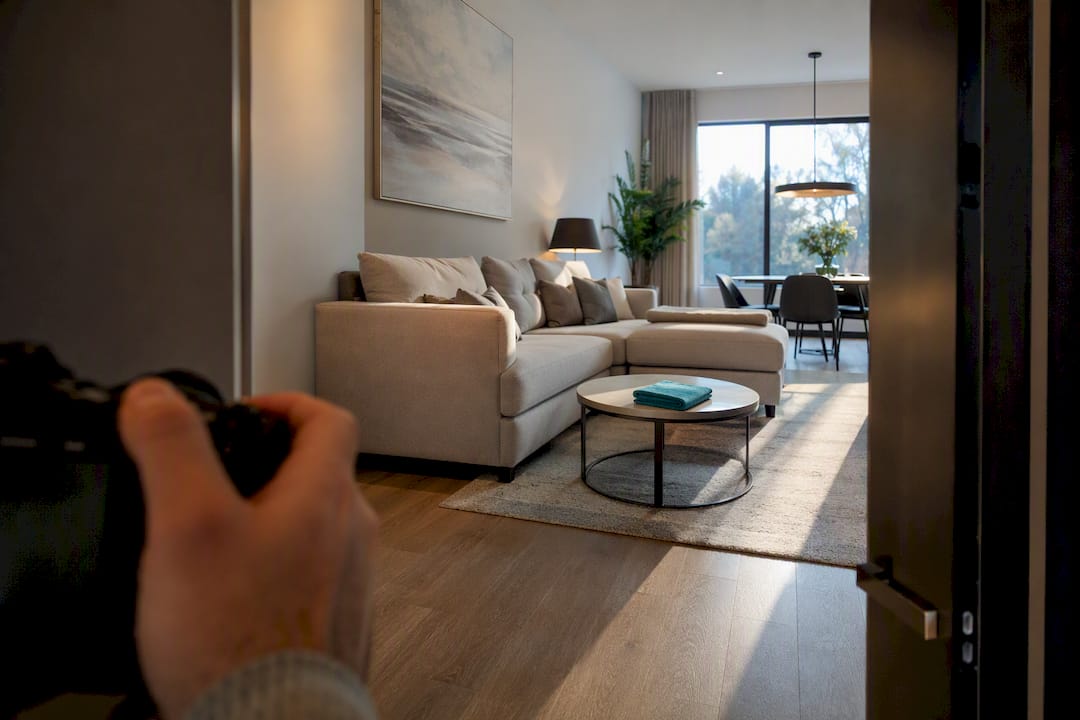
A well-constructed before and after photo proves the impact of a clean, reassures a client, and protects the cleaner in any dispute. The operational rule is simple: declutter first, then clean from top to bottom so that dust does not fall back onto surfaces you have already treated. The next step is to document each visit with consistent, timestamped images taken from the same angle every time.
In brief:
- Before and after photos must be taken at a consistent angle, height and distance to ensure fair comparison and avoid any misleading visual impression.
- Soft natural light in the morning or late afternoon is preferable for accurate images with no harsh shadows or unwanted glare.
- The recommended cleaning method starts at the top to prevent dust from settling on surfaces already treated, following a precise five-step sequence.
- Staging, with careful tidying and defined focal points, can significantly strengthen the visual impact of a before and after shot without adding extra work.
- Timestamped photo proof, kept in its original form and named to a standard convention, is essential for verifying results in a dispute or managing a rental portfolio efficiently.
Table of contents
- Inspiration gallery: before and after templates for every space
- How to photograph a reliable and convincing before and after
- The 5-step method for a before and after that hits hard
- Staging the room before the after photo
- Documenting and keeping photo proof
- What before and after photos really change in property management
- Automating photo proof with Cleanclac
- Sources
- Frequently asked questions
Inspiration gallery: before and after templates for every space
Some transformations are more striking than others, not because the cleaning is more intensive, but because they work three levers: light, object removal, and a well-chosen focal point. The before and after selections published by interior titles such as Cotemaison make this clear: a room can look transformed with no structural work at all, simply through careful decluttering and better natural light.
Here are layouts that work almost every time, whatever the space:
- Kitchen: worktop completely clear, appliances wiped down, sink dry and gleaming. The eye goes straight to the empty counter.
- Living room: cushions aligned, coffee table cleared, rug vacuumed in a single direction for a uniform finish.
- Bedroom: bed made with square corners, floor clear under the bed, linen out of sight.
- Home office: cables tidied, bin emptied, a single decorative object on the desk.
- Facade or exterior: plants cut back flush with the walls, floor swept, gutters visibly clear.
- Vehicle: car-cleaning portfolios show that work on the mats, seats and dashboard radically changes the overall feel of the interior, as the examples published by AClean demonstrate.
For a visible result in one to two hours, prioritise removing objects and wiping reflective surfaces (mirrors, taps, windows). An interior that reflects light well always looks cleaner than it actually is, even after a quick clean.
How to photograph a reliable and convincing before and after
A good comparison photo depends on repeatability, not artistic talent. If the angle changes between the two shots, the viewer's brain is comparing two different rooms, not a before and an after.
Follow this sequence for every photo session:
- Find a fixed reference point (a floor tile, a corner of a piece of furniture) and keep the camera at the same height every time, ideally using a tripod or a stable support.
- Shoot at the same distance and framing, without zooming in further on one image than the other.
- Work in even natural light, early in the morning or late in the afternoon, avoiding harsh flash that flattens shadows and backlighting that darkens surfaces.
- Always keep the original, uncropped files, and name each image with the date and location.
- Pair every wide shot with a close-up of a key area (tile grout, worktop, rug) to prove the detail of the work.
Pro tip: Always take the before photo before you take a single product out of your bag. Once the clean has started, you almost always forget, and the comparison loses all its impact.
A high-resolution file (at least 1,920 pixels wide) is more than enough for web use or proof sent by email, without unnecessarily inflating storage.

The 5-step method for a before and after that hits hard
The order in which you work makes almost all the difference to the final result, as this useful guide on the frequency and importance of deep floor treatments illustrates. A professional post-construction clean typically follows a five-step methodology, and that same logic applies just as well to a routine turnover clean as to a full reinstatement after building work.
- Rough clear-out: remove rubbish, cardboard, floor protection and large debris before doing anything else. There is no point dusting a room that is still cluttered.
- Dusting from top to bottom: ceilings, light fixtures, walls, then low surfaces, and finally floors. Working in this direction prevents dust from falling back onto areas you have already cleaned, saving you a full extra pass.
- Targeted stain treatment: limescale, grease or mould each need the right product and enough dwell time. A quick wipe with a sponge is not enough.
- Washing: matched to the material (wood, tile, stainless steel), followed by careful drying to avoid watermarks.
- Finishing touches: a visual check room by room, a light deodorise, and staging the room before taking the after photo.
A methodological guide on post-construction cleaning stresses one point that is often overlooked: washing too early, before the full dusting pass, creates a haze on surfaces and forces you to go over everything a second time.
Staging the room before the after photo
Cleaning alone is not always enough to produce a spectacular before and after. Staging often makes all the difference between a decent photo and one that makes someone want to book the property or call the cleaner again.
- Remove between 30% and 50% of the visible objects on surfaces: a half-empty shelf always looks neater than a full one, even a tidy one.
- Standardise containers (jars, storage boxes) and align textiles: cushions, folded towels, curtains drawn symmetrically.
- Hide remaining clutter in closed boxes rather than eliminating it entirely, which takes time without changing the visual result.
- Choose one to three focal points per room (a worktop, a bed, a coffee table) and pay extra attention to those.
- Add a living element, such as a plant or a small bunch of flowers, to break the overly clinical feel of an empty room.
These steps do not replace the clean, but they amplify its visual effect without adding a single extra minute of work.
Documenting and keeping photo proof
A before and after photo is only worth something if it can be verified. Always keep the original unedited file, and export a timestamped copy for any sharing with a client or guest.
- Name your files to a standard convention, for example YYYYMMDD_location_before or YYYYMMDD_location_after, so you can find any given visit quickly.
- File photos by job in a dedicated folder rather than in a general camera roll on your phone.
- Keep this proof as a quality archive: it is just as useful in a dispute as it is as a commercial argument with a prospective client.
For property managers handling multiple listings, our page on timestamped photo proof in the event of a dispute explains how to structure this documentation at scale.
What before and after photos really change in property management
After years observing property managers run their cleaning teams, one thing is clear: the photo is not a marketing extra, it is a management tool in its own right. Disputes about a property's cleanliness are resolved in seconds when proof exists, and drag on indefinitely without it. Reviews also improve as a direct result, because oversights are caught before the guest arrives. Making a photo a standard part of every job is no longer a luxury. It is an operational safeguard.
, Jonathan
Automating photo proof with Cleanclac
Some apps built for cleaning management make it easy to collect consistent before and after photos without having to chase each cleaner by message. Cleaners can have mobile access with timestamped photo proof built directly into their job, synced with a schedule generated from reservations on common platforms.

In practice, the photo becomes a step in the workflow rather than an added burden: it is attached to the job report, visible in real time from the dashboard, with no manual re-entry and no file lost in a conversation thread. If something comes up and no cleaner is available, the app also lets you quickly find a local cleaner so the property is ready before the next guest arrives. To see how the whole system fits together, the Cleanclac product page covers schedule automation and real-time reporting in full.
Sources
For further reading, see the OBAT five-step guide to end-of-construction cleaning and our comparison of Airbnb cleaning marketplaces to find additional cleaners.
- Post-construction cleaning: steps, timing and method – AGM PRO Nettoyage Paris
- What order to clean in for a fast, organised result – Kareca
- Before and after: a stone house reborn under a vast glass roof – Cotemaison
Frequently asked questions
Should you always use the same angle for both photos?
Yes, that is the single most important condition: an identical angle, height and distance ensure an honest comparison and prevent any misleading visual effect.
What is the best time of day to take photos?
Soft natural light in the morning or late afternoon gives the most accurate results, avoiding harsh shadows and flash glare.
In what order should you clean before taking the after photo?
Always top to bottom: ceilings and light fixtures first, then walls and surfaces, then floors last, so you never dirty what you have already cleaned.
Can a before and after photo serve as evidence in a dispute?
Yes, provided it is timestamped and kept in its original form. That is precisely what the built-in photo proof feature in Cleanclac offers.
How much does Cleanclac cost to automate photo proof?
Current Cleanclac pricing is available directly on the website, billed per active property managed.